
Replacing your windows is a significant investment that affects your home’s comfort, security, and long-term energy efficiency. But most homeowners in Toronto, Etobicoke, Mississauga, and across the GTA have one big question before they move forward:
“What actually happens on installation day… and how disruptive is it?”
That’s a fair concern. You want to know exactly how the process works, how long it takes, who will be in your home, and what steps the team will take to protect your property.
This guide walks through the whole installation process with LAB Windows & Doors, from the moment your new triple-pane windows arrive to the final clean-up. The goal is simple:
Help you feel prepared, confident, and fully informed before your project starts.
Why Professional Installation Matters in the GTA
Before we get into the step-by-step process, it helps to understand why proper installation is critical, especially in Ontario’s climate.
The GTA experiences:
- Extreme cold (lows reaching –20°C in winter)
- High humidity in summer
- Frequent freeze-thaw cycles
- Increasingly high hydro costs
A poorly installed window, no matter how “energy efficient” on paper, can lead to:
- Drafts
- Condensation
- High heating/cooling bills
- Premature seal failure
- Moisture damage inside the walls
According to Natural Resources Canada, up to 25% of a home’s heating energy loss happens through old or poorly sealed windows. Professionally installed ENERGY STAR® windows can significantly reduce that loss.
This is why LAB Windows & Doors focuses on precision installation, not quick swaps. Your windows are long-term assets, and the installation determines how well they perform for the next 25 years.
Step 1: The Pre-Installation Home Visit (Free Consultation)
Before installation day, LAB conducts a detailed in-home consultation. This is not a quick “walk-through,” it’s a technical assessment.
Your Consultant Will
- Inspect your current window frames and sills
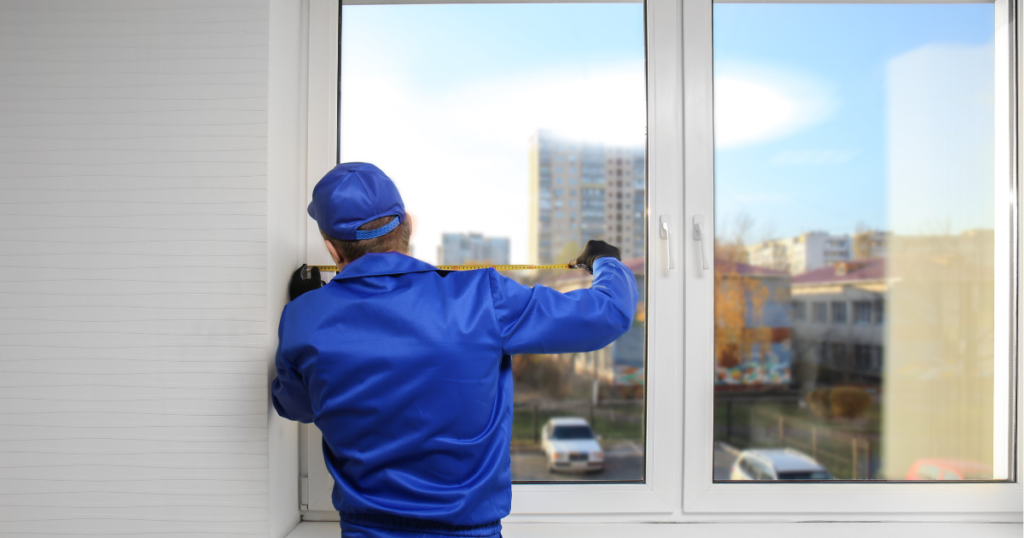
- Measure each opening
- Look for signs of moisture, drafts, and structural shifting
- Confirm style, colour, and configuration choices
- Explain the installation approach for your specific home
- Review timelines and expectations
Homes across Toronto, Mississauga, Oakville, Aurora, Vaughan, and Hamilton vary widely—century homes, post-war bungalows, townhouses, and new builds all require different installation considerations.
This step ensures there are no surprises on installation day.
Step 2: Custom Manufacturing of Your Windows
Once measurements are complete, LAB submits your exact specifications to the manufacturer.
These windows are not “off the shelf.”
They’re custom-built to fit each opening precisely.
Benefits of custom sizing instead of buying from your local hardware store:
- A tighter, more efficient seal
- Better weatherproofing
- Improved noise reduction
- Longer lifespan
- Cleaner interior and exterior finish
LAB installs triple-pane vinyl windows designed specifically for Canadian climates. Triple-pane windows provide significantly better insulation than double-pane units, especially in windy areas along the lake, such as Etobicoke, Oakville, and Burlington.
Step 3: Preparing Your Home (What You Need To Do)
A few simple steps will help your installation run smoothly.
24–48 Hours Before Installation
- Clear window access (move furniture, lamps, plants, décor)
- Remove window coverings (curtains, blinds)
- Disable alarm contacts on windows (if applicable)
LAB’s team will handle the rest.
If you’re unsure about anything, your project coordinator will provide guidance.
Step 4: Arrival of the Installation Crew
On installation day, the LAB team arrives at the scheduled time, usually between 9:30 a.m. – 10:30 a.m., depending on your location.
Expect
- A professional, uniformed crew
- A clear introduction to the day’s plan
- Protective floor coverings are placed immediately
- Tools, materials, and windows are staged outside your home
Your installers will confirm the room order, explain how the day will flow, and answer any questions before starting. We always start from the top of the house and work our way down.
Step 5: Protecting Your Home
Homeowners often worry about dust, debris, and damage.
LAB follows a strict protection protocol:
- Drop cloths on floors
- Careful removal and disposal of old windows
- Clean up after
Your home is treated with the same care as if it were the installers’ own.
Step 6: Removing the Old Windows
This is where most homeowners get nervous, but the removal process is controlled, clean, and systematic.
The Team Will
- Score old caulking and seals
- Remove the sash, frame, and trim
- Inspect the opening for moisture or wood damage
- Vacuum debris as they go
- Prepare the opening for installation
If they find hidden damage (e.g., soft wood, insulation gaps), they’ll address it immediately and discuss the solution with you before proceeding.
This is one of the reasons DIY is never recommended; you simply can’t see what’s happening inside the cavity without professional knowledge.
Step 7: Installing Your New Window
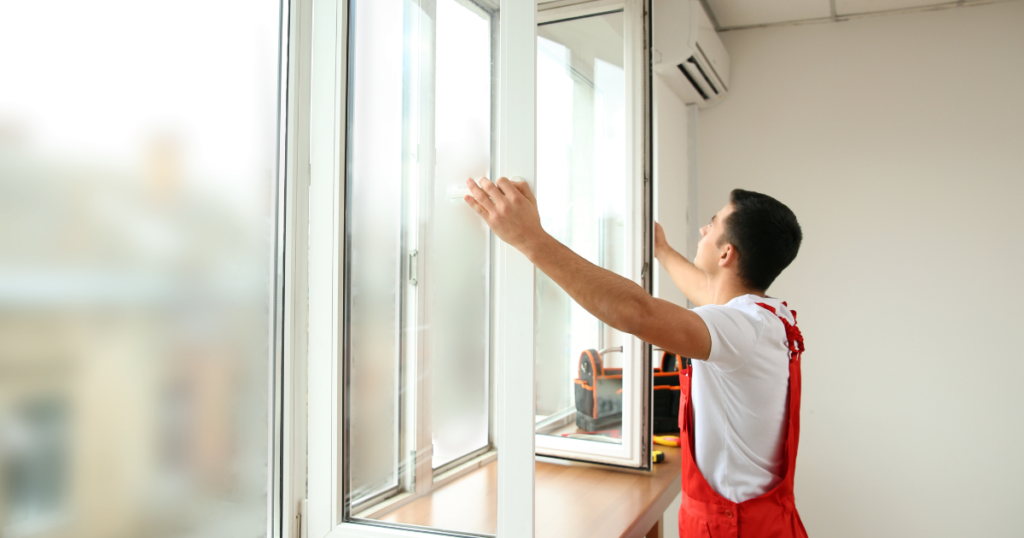
Once the opening is prepped, the new custom unit is installed.
This includes
- Positioning the window for a perfect, level fit
- Securing it with high-quality fasteners
- Filling insulation gaps with low-expansion spray foam
- Testing operation (locking, opening, sliding)
- Ensuring proper drainage pathways
The goal is tight sealing without over-compression, which protects the window’s long-term performance.
Step 8: Exterior Sealing And Finishing
The exterior finish is just as important as the interior.
LAB’s Installers
- Apply premium, weather-resistant exterior caulking
- Add aluminum capping (if required) for a clean, weatherproof finish.
- Smooth seams for a polished look
- Match exterior trim colours to your home as closely as possible
Ontario winters are harsh, and exterior sealing determines how well your home stays insulated through repeated freeze-thaw cycles.
LAB only uses caulking designed for cold climates, which ensures long-term flexibility and airtight protection.
<Add Bad Caulking Job / Good One Photos>
Step 9: Interior Finishing Work
Inside the home, the team will:
- Install interior trim
- Seal gaps
- Ensure lines are clean and even.
- Touch up where needed.
- Test each window’s operation again.
A proper finishing job is what separates high-quality installers from “budget” companies. It’s not just about the window; it’s about how the installation blends with your home’s interior.
Step 10: Clean-Up and Final Walkthrough
Once all windows are installed:
The Crew Will
- Remove all debris
- Vacuum work areas
- Clean fingerprints from the glass
- Load and dispose of your old windows responsibly
- Walk you through every installed unit.
During the walkthrough, the installer explains:
- How to operate each window
- How to lock, vent, and tilt (if applicable)
- How to do simple seasonal maintenance
- Warranty details
- How to contact support
You’ll sign off only when you’re delighted.
How Long Does the Installation Take
When it comes to how long a job takes, we focus on doing it properly. We don’t rush; we ensure everything is done correctly. Some companies brag about how fast they can get a job done, but we are all about quality and upholding our standards, and we take the time to clean up after the job is done. Factors affecting timelines include:
- Size of windows
- Number of floors
- Accessibility
- Weather
- Condition of existing frames
Your project coordinator will give you a personalized estimate before installation day.
Common Questions Homeowners Ask
Will There Be A Significant Temperature Drop While Windows Are Out?
Installers work one section at a time to minimize heat loss, especially during winter installations.
Can Installations Be Done In Winter?
Yes. LAB installs year-round, using cold-climate materials and methods.
Do I Need To Be Home?
No. Everything was discussed and agreed on before installation day.
What If It Rains?
Light rain is usually fine. If weather compromises safety or quality, LAB will reschedule.
Why Homeowners in Toronto and the GTA Choose LAB
After thousands of installations across Toronto, Etobicoke, Mississauga, Vaughan, Oakville, Aurora, North York, Burlington, and Hamilton, LAB has built a reputation for:
- Professionalism & Customer Service
- Precise, transparent installations
- Energy-efficient triple-pane windows
- Durable, secure steel and fibreglass doors
- Local expertise with GTA home types
- Excellent warranties and aftercare
- Clean worksites and respectful crews
Homeowners choose LAB because they want a company that does the job properly, not just quickly.
You’re not just buying windows, you’re investing in comfort, efficiency, and long-term value.
Ready to Book Your Professional Window Installation?
Now that you understand exactly what to expect during your installation with LAB Windows & Doors, the next step is simple: Book your free, no-obligation consultation.
You’ll get precise measurements, expert recommendations, and a clear understanding of what your home truly needs.
Start your project today: https://online.labwindows.ca/widget/form/IoDl6OcyzqI6RDkhBz3v
Or visit https://labwindows.ca to learn more about our window and door solutions across the GTA.
Your home deserves quality.
Your windows deserve LAB.